The Best Set Up for a Sump
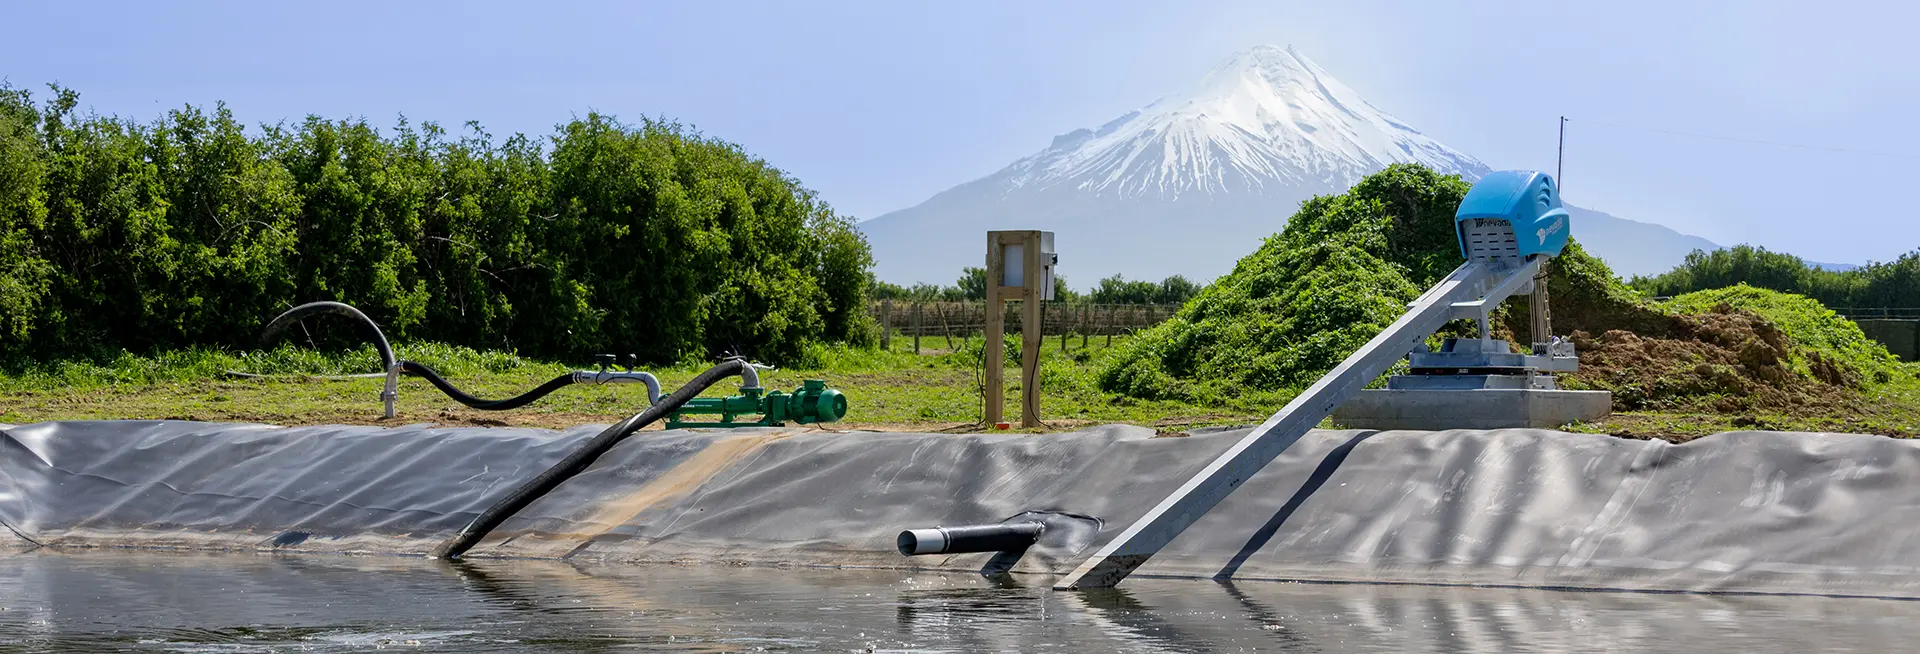
A sump can be placed between the dairy and a storage facility, normally about 20 metres away from the dairy shed and would lead to a concrete sump of 20,000 litres or more. From that sump, there can be two pumps put in place, one to pump effluent to the storage facility and one for sending effluent to irrigators.

Connecting a Sump To a Bladder Tank
Bladder tanks work well with a sump system and can offer fail-safe efficiency with two pumps. The two pumps include a transfer pump (often a submersible pump inside the sump) that is dedicated to just pumping to a bladder tank, and an irrigation pump such as a Progressive Cavity (PC) Pump that can be connected to the irrigation network. When the conditions are favourable, you can turn on the irrigation pump with a float switch. Once the sump is about half full, the irrigation pump will start and pump until the sump is empty.
If the irrigation pump is turned off, the level of the sump increases beyond half. When it reaches three quarters full, the transfer pump starts up on a float switch and pumps to the effluent bladder tank. If something goes wrong with one pump, the other pump quickly jumps in. This streamlines operations and only requires the irrigation pump to be turned off to ensure that effluent is pumped directly to the bladder. A sump can also utilise a submersible stirrer to keep everything mixed properly before spreading effluent across paddocks.


A bladder tank is placed at a slightly higher level than a sump, which makes it easy to drain effluent from the bladder back to the sump. This requires the drainage to match the flow of the irrigation pump, but if it is pumping too fast, the second pump will automatically kick in and pump directly to the bladder tank if the sump reaches three quarters full.
When the conditions are right, irrigation can be pumped to the irrigator without hassle, but if the weather has made it too wet to operate, then you can easily pump effluent up to the bladder tank using the transfer pump. As the conditions improve, easily drain the effluent back to the sump to begin irrigating.
Chat with our team
Our team of experts can help you learn more about different approaches and how to manage effluent in all conditions. If a sump sounds like the right operational choice for your dairy farm, chat with our team today and get the best set up for a sump.